
DIY Dog Minions Costume: Step-by-Step Guide
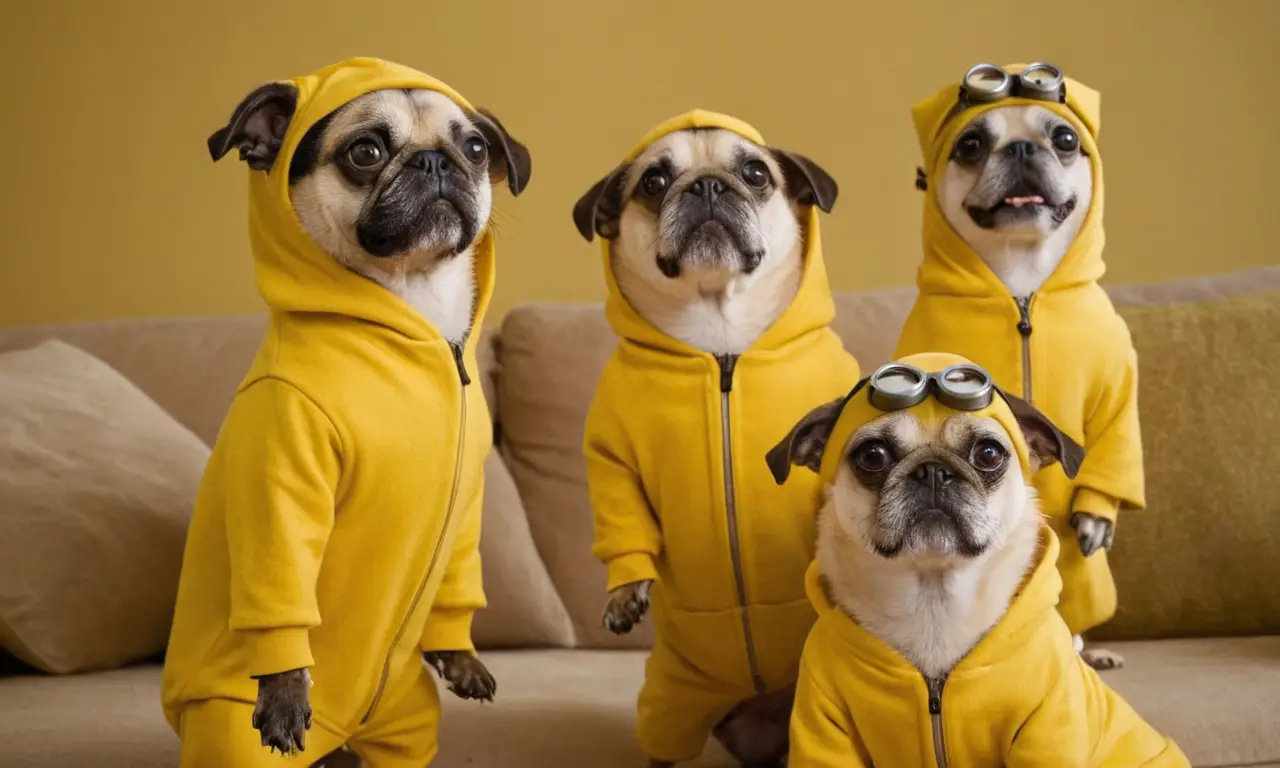
Craft Your Canine's Minion Look: A Step-by-Step Guide
Transforming your furry friend into a mischievous Minion is a fantastic way to add some fun and flair to special occasions, photoshoots, or simply for a day of playful antics. This comprehensive guide will walk you through creating a Homemade Minions costume for dogs step by step, ensuring a comfortable and adorable outcome for your canine companion. We'll cover everything from material selection and pattern adaptation to assembly and finishing touches, making this a rewarding DIY project even for beginners. Get ready to unleash your dog's inner Minion with this easy-to-follow tutorial!
𝙲𝚘𝚗𝚝𝚎𝚗𝚝
- The Appeal of Minion Costumes for Dogs
- Planning Your Minion Dog Costume
- Essential Materials for Your Homemade Minions Costume
- Step 1: Measuring Your Dog
- Step 2: Creating the Pattern for the Minion Body
- Step 3: Cutting the Fabric
- Step 4: Assembling the Minion Tunic
- Step 5: Adding the Overalls Details
- Step 6: Crafting the Minion Goggles
- Step 7: Final Touches and Fitting
- Tips for Dressing Your Dog in a Minion Costume
- Variations and Creative Additions
The Appeal of Minion Costumes for Dogs
Minions, with their distinctive yellow hue, quirky goggles, and endearing personalities, have captured hearts worldwide. Their universal appeal makes them a perfect choice for a dog costume. Not only are they instantly recognizable and undeniably cute, but they also evoke a sense of fun and playfulness that matches the spirit of many dogs. Imagine the smiles and laughter your pup will inspire dressed as one of these beloved characters! Creating a homemade costume allows for a personalized fit and the use of materials that prioritize your dog's comfort and safety.
Planning Your Minion Dog Costume
Before diving into the crafting process, a little planning goes a long way. Consider these key aspects:
- Your Dog's Breed and Size: This will influence the pattern size and the type of materials you choose. Larger breeds might require more robust fabric, while smaller dogs can benefit from lighter, more flexible materials.
- Comfort is Key: Your dog's well-being should be the top priority. Ensure the costume doesn't restrict movement, breathing, or vision. Avoid small, easily ingestible parts.
- Durability: If your dog is active, you'll want a costume that can withstand a bit of roughhousing.
- Simplicity: While elaborate costumes can be impressive, a simpler design is often more practical and comfortable for your pet.
- The "Minion" Elements: What specific Minion features do you want to highlight? Typically, this includes the yellow body, overalls, and goggles.
Essential Materials for Your Homemade Minions Costume
Gathering the right materials is crucial for a successful project. Here's a list of what you'll likely need:
Dog Color Vision: How Do Dogs Recognize & Distinguish Colors?- Yellow Fabric: Felt, fleece, or cotton are excellent choices. Fleece is soft and easy to work with, while felt offers good structure. Choose a bright, cheerful yellow. You'll need enough for the body of the costume.
- Blue Fabric: For the iconic Minion overalls. Denim, sturdy cotton, or even felt can work.
- Black Fabric or Felt: For details like the straps and the sole of the shoe (if you're adding that element).
- Gray or Silver Fabric/Felt: For the goggle frames.
- White Fabric/Felt: For the goggle lenses.
- Black Elastic Band: For the goggles and potentially to secure the costume.
- Velcro Fasteners: An easy and adjustable way to close the costume.
- Fabric Scissors: Sharp scissors are essential for clean cuts.
- Measuring Tape: For accurate measurements of your dog.
- Sewing Machine (Optional but Recommended): For faster and more durable stitching. Hand-sewing is also perfectly viable.
- Fabric Glue or Hot Glue Gun: For attaching smaller details without sewing. Use sparingly and ensure it dries completely and is not accessible for your dog to chew.
- Cardboard or Craft Foam: For creating sturdy goggle frames.
- Black Marker or Fabric Paint: For drawing details on the goggles.
- Pattern Paper or Newspaper: To draft your pattern.
Step 1: Measuring Your Dog
Accurate measurements are the foundation of a well-fitting costume. Here's how to measure your dog:
- Neck Circumference: Measure around the base of your dog's neck where a collar would sit.
- Chest Girth: Measure the widest part of your dog's chest, just behind the front legs.
- Back Length: Measure from the base of the neck (where the collar sits) to the base of the tail.
- Leg Length (Front and Back): Measure from the top of the leg opening to where you want the "pant leg" to end.
- Head Circumference (for goggles): Measure around your dog's head where the goggles will rest.
Take these measurements while your dog is standing calmly. It's helpful to have a helper to keep your dog still. Add a little extra to your measurements for seam allowances and ease of movement (usually about 1-2 inches).
Step 2: Creating the Pattern for the Minion Body
The simplest Minion costume design is a sleeveless tunic that slips over your dog's head and fastens underneath.
- Drafting the Basic Shape: Lay out your pattern paper. Fold it in half lengthwise. Using your dog's back length measurement, mark this length on the folded edge. This will be the center back of your tunic.
- Chest Girth: Use half of your dog's chest girth measurement plus ease to determine the width of your pattern. Measure this out from the folded edge at the chest level.
- Neckline: Decide on a simple, rounded neckline that is comfortable and doesn't restrict movement. Cut a gentle curve.
- Armholes: Measure from the top of the shoulder down to where the front legs begin. Create a gentle curve for the armholes. Ensure they are large enough for your dog's legs to move freely.
- Bottom Hem: Decide how long you want the tunic to be. It should generally cover your dog's back but not interfere with their ability to potty.
- Connecting the Pieces: Draw lines to connect the neckline, armholes, and hem to create a basic tunic shape. This will be your front and back pattern piece.
Adaptation for Overalls:
Is Your Dog's Favorite Person? Signs & TipsFor the overalls, you'll need to create separate bib and strap pieces.
- Bib: Cut a rectangular or slightly curved shape for the front bib of the overalls. This should be wide enough to span the chest area.
- Straps: Cut two long, rectangular strips for the shoulder straps. The length will depend on how high you want the bib to sit and how you plan to attach them.
Step 3: Cutting the Fabric
Once your pattern is finalized, it's time to cut the fabric.
- Yellow Fabric: Pin your pattern piece onto the yellow fabric, folded side along the fold of your pattern. Cut out two identical pieces (front and back of the tunic).
- Blue Fabric:
- Cut out the bib piece.
- Cut out the two strap pieces.
- You can also cut a long rectangular strip of blue fabric to act as an "apron" that attaches to the front of the yellow tunic, or you can simply sew the bib and straps directly onto the yellow fabric.
- Gray/Silver Fabric: Cut out two circular or oval shapes for the goggle frames.
- White Fabric: Cut out two slightly smaller circles or ovals to fit inside the gray frames for the goggle lenses.
- Black Fabric: Cut out thin strips for any additional detailing, or for the goggle straps.
Step 4: Assembling the Minion Tunic
Now for the assembly! If you're using a sewing machine, this will be quicker.
- Sewing the Tunic: Place the two yellow fabric pieces right sides together. Sew along the shoulder seams and the side seams, leaving the bottom open for the leg holes. If you're creating a single piece that slips over the head, you'll only need to sew the side seams. If you're creating an opening for easier dressing, sew one side seam completely, and the other seam partially, leaving an opening at the bottom that can be secured with Velcro.
- Hemming: Fold the bottom edges of the tunic up by about ½ inch and stitch to create a clean hem.
- Armholes: Fold the raw edges of the armholes up by about ½ inch and stitch to create a finished edge.
Step 5: Adding the Overalls Details
This is where your Minion really starts to take shape.
Understanding How Horses Think: A Deep Dive- Attaching the Bib: Pin the blue fabric bib to the front of the yellow tunic, aligning the top edge with where you want the bib to sit. Sew it securely in place.
- Attaching the Straps: Pin the blue fabric straps to the top corners of the bib. Bring the other ends of the straps around the dog's shoulders and pin them to the back of the yellow tunic, where they will rest comfortably. Sew all strap attachments securely. You can also attach the straps to the back of the tunic with Velcro for adjustability.
- Adding Details (Optional): You can add a small pocket to the bib using a contrasting blue fabric or even a small piece of black for a waistband detail.
Step 6: Crafting the Minion Goggles
The goggles are a signature Minion feature.
- Goggle Frames: Cut out two circles or ovals from your gray/silver fabric or craft foam for the frames. You can layer two pieces of fabric for more stability.
- Goggle Lenses: Cut out two slightly smaller circles or ovals from white fabric or felt for the lenses.
- Assembly: Glue or sew the white lenses onto the center of the gray frames.
- Adding Detail: Use a black marker or fabric paint to draw a line around the circumference of the white lenses to mimic the distinct Minion goggle line.
- Attaching the Strap: Cut a length of black elastic band that will fit comfortably around your dog's head. Securely attach the ends of the elastic band to the sides of the goggle frames using glue or by sewing. Ensure the elastic is not too tight.
Step 7: Final Touches and Fitting
- Attaching the Goggles: The goggles can be worn on their own, or you can create a way to attach them to the costume. For safety, it's often best to let them rest loosely on the dog's head or have them attached via a removable elastic strap.
- Fastenings: If you created an opening for dressing, attach Velcro fasteners along the opening edges. Ensure they are strong enough to hold the costume closed but not so strong that they are difficult to undo.
- Safety Check: Thoroughly check the entire costume for any loose threads, sharp edges, or small embellishments that your dog could chew off and ingest. Trim any stray threads.
- The "One-Eyed" Minion: If you want to create a classic one-eyed Minion, simply use one large goggle instead of two.
Tips for Dressing Your Dog in a Minion Costume
- Introduce the Costume Gradually: Let your dog sniff and investigate the costume before you try to put it on them.
- Positive Reinforcement: Use treats and praise to associate the costume with positive experiences.
- Ensure a Comfortable Fit: The costume should not be too tight or too loose. It should allow for natural movement and breathing.
- Supervise Your Dog: Always supervise your dog while they are wearing a costume, especially if it has any elements they could potentially chew or get tangled in.
- Short Durations: For dogs who are not used to wearing costumes, start with short periods of wear.
Variations and Creative Additions
- "One-Eyed" Minion: For a classic Kevin or Stuart look, create a single, larger goggle.
- "Strap" Detail: For a simpler design, you can skip the full overalls and just add blue straps that run from the shoulder to the waist.
- "Glove" Paws: Create simple yellow fabric "mittens" that slip over your dog's front paws, ensuring they don't impede walking.
- "Bob" Hair: For a Bob-inspired look, consider adding a few strands of black felt hair to the top of the headpiece or the goggles.
Creating a Homemade Minions costume for dogs step by step is a fun and rewarding project that will bring smiles to everyone. By following these instructions and prioritizing your dog's comfort and safety, you'll have an adorable, custom-made Minion ready for any occasion. Remember to have fun with the process, and enjoy your transformed canine companion!
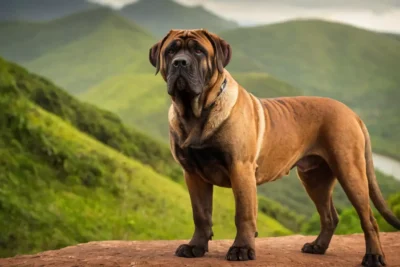
Fila Brasileiro: The Majestic Mastiff of Brazil Explored
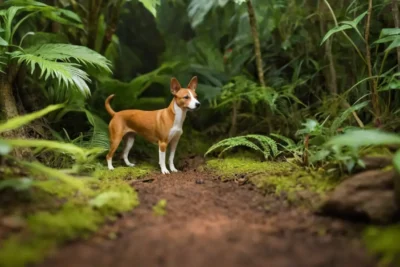
Basenji: The Enigmatic Barkless Dog – Congo Terrier Facts
Dog Language & Calm Signals: The Complete Guide
The Enduring Bond: Dogs & Humans, 14,000 Years
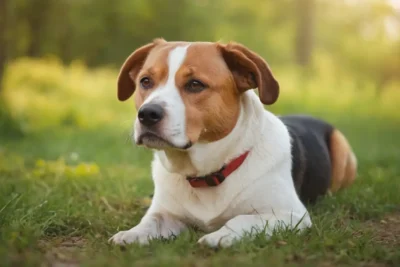
Dalmatian Dog: History, Traits & Fun Facts
Can You Have a Monkey as a Pet? The Truth About Primate Companions
Related posts