
Easy Homemade Dog Biscuits: 5 Delicious & Healthy Recipes
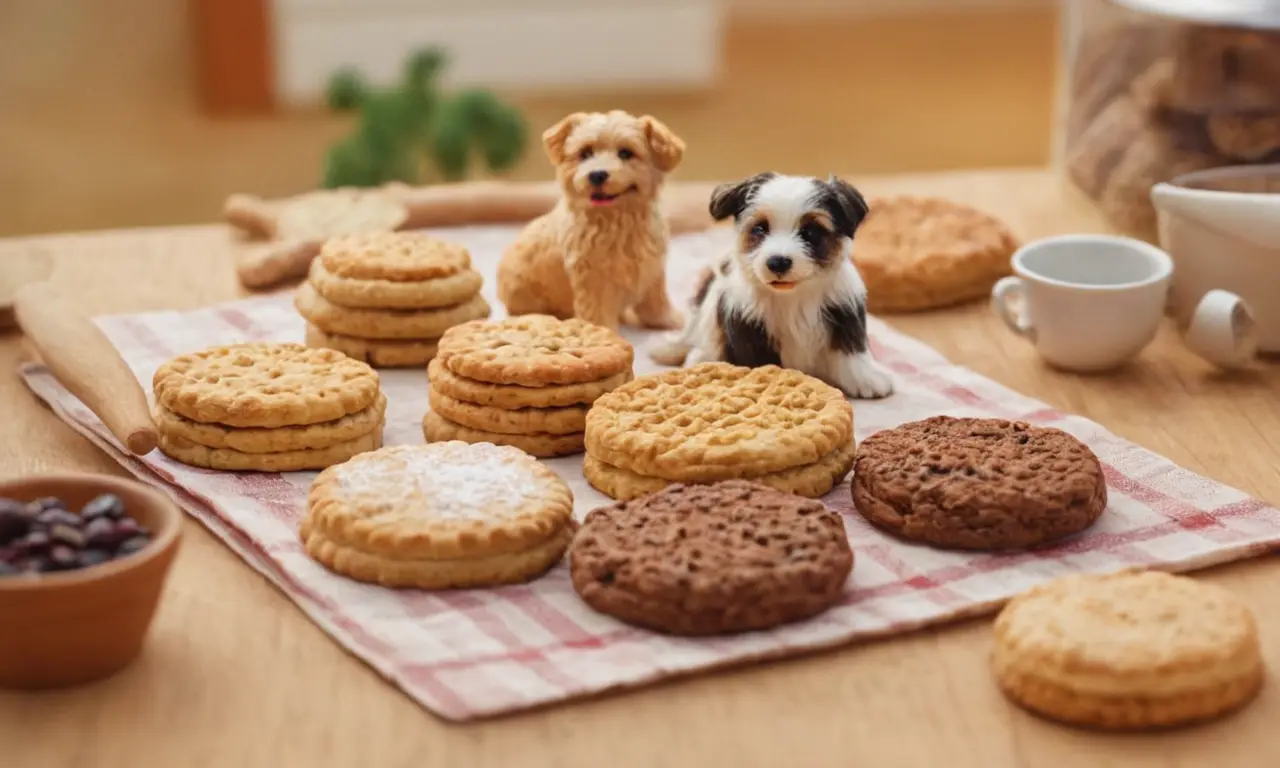
Homemade Dog Biscuits: 5 Easy & Delicious Recipes Your Pup Will Love
Creating homemade dog biscuits is a rewarding way to ensure your canine companion enjoys healthy, delicious, and wholesome treats. Moving beyond commercially produced options often laden with artificial ingredients, preservatives, and fillers, you can tailor these recipes to your dog's specific dietary needs and taste preferences. This article will guide you through five simple and incredibly easy recipes that require minimal ingredients and effort, perfect for busy pet parents who want to spoil their furry friends with love and nutrition. From peanut butter classics to pumpkin spice delights, these homemade dog biscuits are sure to become a staple in your treat jar.
𝙲𝚘𝚗𝚝𝚎𝚗𝚝
- Why Bake Homemade Dog Biscuits?
- Essential Ingredients for Homemade Dog Biscuits
- Recipe 1: Classic Peanut Butter & Oat Biscuits
- Recipe 2: Pumpkin & Sweet Potato Power Bites
- Recipe 3: Banana & Carrot "Pupcakes" (Biscuit Style)
- Recipe 4: Liver Lover's Delight Biscuits
- Recipe 5: Simple Salmon & Sweet Potato Biscuits
- Tips for Successful Homemade Dog Biscuit Baking
- In summary
Why Bake Homemade Dog Biscuits?
The benefits of baking homemade dog biscuits extend far beyond just saving money. You gain complete control over the ingredients, which is particularly crucial for dogs with allergies, sensitivities, or specific health conditions. This allows you to avoid common allergens like wheat, corn, soy, or certain proteins. Furthermore, you can omit artificial colors, flavors, and preservatives that might cause adverse reactions or contribute to long-term health issues. Baking at home also provides an opportunity to incorporate ingredients known for their nutritional benefits, such as fiber-rich oats, antioxidant-rich fruits and vegetables, and healthy fats. It's a way to actively participate in your dog's well-being, ensuring they receive treats that are not only tasty but also contribute positively to their overall health. Plus, the aroma of freshly baked dog biscuits filling your home is a delightful perk for any pet owner.
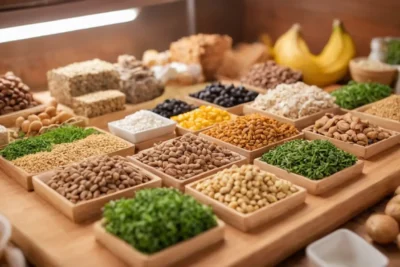
Essential Ingredients for Homemade Dog Biscuits
Before diving into the recipes, let's look at some common and beneficial ingredients you'll frequently find in homemade dog biscuits:
- Flour Base: Whole wheat flour is a popular choice due to its fiber content, but alternatives like oat flour, rice flour, or even coconut flour can be used for dogs with grain sensitivities.
- Binders: Eggs are excellent binders and add protein. Water or unsweetened apple sauce can also be used.
-
Flavor & Nutrition Boosters:
- Peanut Butter: A classic favorite, ensure it's xylitol-free as xylitol is toxic to dogs.
- Pumpkin Puree: Rich in fiber and vitamins, excellent for digestion. Use plain, unsweetened pumpkin, not pumpkin pie filling.
- Sweet Potato Puree: Another excellent source of fiber and vitamins A and C.
- Oats: Rolled oats or oat flour add fiber and a pleasant texture.
- Carrots: Grated carrots add sweetness and beta-carotene.
- Banana: Mashed banana adds natural sweetness and potassium.
- Parsley: Fresh or dried parsley can help freshen breath.
- Cinnamon: A small amount can add flavor and has anti-inflammatory properties.
- Coconut Oil: A healthy fat that can be beneficial for skin and coat.
-
Liquid: Water is the most common liquid used to achieve the right dough consistency.
Remember to always consult with your veterinarian before introducing new ingredients, especially if your dog has any pre-existing health conditions or allergies.
Recipe 1: Classic Peanut Butter & Oat Biscuits
This is a foolproof recipe that’s a guaranteed hit with most dogs. The combination of peanut butter and oats creates a satisfying crunch and a delicious aroma.
Ingredients:
- 2 cups whole wheat flour (or oat flour for grain-free)
- 1/2 cup natural peanut butter (xylitol-free)
- 1/2 cup rolled oats (plus extra for dusting)
- 1 large egg
- 1/4 cup water (or as needed)
Instructions:
Homemade Dog Food for Puppies: A Healthy Start- Preheat your oven to 350°F (175°C). Line a baking sheet with parchment paper.
- In a large bowl, combine the flour and rolled oats.
- Add the peanut butter and egg to the dry ingredients. Mix until a crumbly texture forms.
- Gradually add water, a tablespoon at a time, mixing until a firm dough forms that is not too sticky. You might not need all the water.
- Turn the dough out onto a lightly floured surface (using a little extra flour or oat flour). Roll out the dough to about 1/4-inch thickness.
- Use cookie cutters to shape your biscuits into fun shapes. You can also simply cut them into squares or rectangles.
- Carefully place the biscuits onto the prepared baking sheet.
- Bake for 20-25 minutes, or until the edges are golden brown and the biscuits are firm. The baking time will vary depending on the thickness and size of your biscuits.
- Allow the homemade dog biscuits to cool completely on a wire rack before serving or storing.
Storage: Store in an airtight container at room temperature for up to a week, or in the refrigerator for up to two weeks. For longer storage, freeze them.
Recipe 2: Pumpkin & Sweet Potato Power Bites
These vibrant biscuits are packed with vitamins and fiber, making them a superfood treat for your dog. The natural sweetness from pumpkin and sweet potato makes them incredibly appealing.
Ingredients:
- 1 cup pumpkin puree (plain, unsweetened)
- 1/2 cup sweet potato puree (cooked and mashed)
- 1 large egg
- 2 cups whole wheat flour (or gluten-free blend)
- 1/4 teaspoon cinnamon (optional)
Instructions:
- Preheat your oven to 350°F (175°C). Line a baking sheet with parchment paper.
- In a medium bowl, whisk together the pumpkin puree, sweet potato puree, and egg until well combined.
- In a separate large bowl, combine the flour and cinnamon (if using).
- Pour the wet ingredients into the dry ingredients and mix until a dough forms. If the dough is too sticky, add a little more flour, a tablespoon at a time.
- Turn the dough out onto a lightly floured surface and roll it to about 1/4-inch thickness.
- Cut out shapes with cookie cutters or a knife.
- Place the biscuits on the prepared baking sheet.
- Bake for 25-30 minutes, or until firm and lightly golden.
- Let the homemade dog biscuits cool completely on a wire rack.
Storage: Similar to the peanut butter biscuits, store in an airtight container at room temperature for up to a week, or refrigerate for longer.
Recipe 3: Banana & Carrot "Pupcakes" (Biscuit Style)
While called "pupcakes," these are essentially soft, chewy biscuits perfect for puppies or senior dogs with softer mouths. The natural sweetness of banana and carrots makes them irresistible.
Ingredients:
- 1 ripe banana, mashed
- 1/2 cup shredded carrots
- 1 large egg
- 1/4 cup unsweetened applesauce
- 1 1/2 cups whole wheat flour (or oat flour)
- 1/2 teaspoon baking powder (optional, for a slightly lighter texture)
Instructions:
- Preheat your oven to 350°F (175°C). Lightly grease a mini muffin tin or line a baking sheet with parchment paper.
- In a bowl, mash the banana and mix it with the shredded carrots, egg, and applesauce.
- In a separate bowl, combine the flour and baking powder (if using).
- Add the wet ingredients to the dry ingredients and stir until just combined. The batter will be quite soft.
- Spoon small dollops of the batter into the mini muffin cups, filling them about two-thirds full. If using a baking sheet, drop teaspoon-sized amounts onto the parchment paper.
- Bake for 15-20 minutes for mini muffins, or 12-15 minutes for smaller drops, until they are set and a toothpick inserted comes out clean. They will be soft.
- Allow the homemade dog biscuits to cool in the tin for a few minutes before transferring them to a wire rack to cool completely.
Storage: Due to the moisture content, these are best stored in the refrigerator in an airtight container for up to 5 days.
Homemade Dog Food vs. Commercial: A Nutritional ShowdownRecipe 4: Liver Lover's Delight Biscuits
For the ultimate meat-lover, these liver biscuits pack a punch of flavor and protein. They are highly palatable and great for training rewards.
Ingredients:
- 1 cup cooked chicken liver, pureed (ensure no seasoning was added)
- 1 large egg
- 1/4 cup water
- 1 3/4 cups whole wheat flour (or rice flour for grain-free)
- 1/4 cup nutritional yeast (optional, for a cheesy flavor and B vitamins)
Instructions:
- Preheat your oven to 350°F (175°C). Line a baking sheet with parchment paper.
- In a bowl, combine the pureed liver, egg, and water. Whisk until well blended.
- In a separate bowl, mix the flour and nutritional yeast (if using).
- Pour the wet ingredients into the dry ingredients and mix until a stiff dough forms. You may need to add a tiny bit more water or flour to achieve the right consistency.
- Turn the dough out onto a lightly floured surface and roll it to about 1/4-inch thickness.
- Cut into desired shapes.
- Place the homemade dog biscuits on the prepared baking sheet.
- Bake for 20-25 minutes, or until firm and dry. They will be quite hard.
- Let them cool completely on a wire rack.
Storage: These are quite dry and can be stored in an airtight container at room temperature for up to two weeks.
Recipe 5: Simple Salmon & Sweet Potato Biscuits
Rich in Omega-3 fatty acids from salmon, these biscuits are fantastic for promoting healthy skin and a shiny coat.
Ingredients:
- 1 cup cooked salmon, flaked and deboned (plain, no seasoning)
- 1/2 cup sweet potato puree
- 1 large egg
- 1 3/4 cups oat flour (or whole wheat flour)
- 1 tablespoon dried parsley (optional, for breath freshening)
Instructions:
- Preheat your oven to 350°F (175°C). Line a baking sheet with parchment paper.
- In a bowl, combine the flaked salmon, sweet potato puree, and egg. Mix well.
- Add the oat flour and parsley (if using) to the wet ingredients and stir until a dough forms. It might be a bit sticky.
- Turn the dough out onto a lightly floured surface and roll it to about 1/4-inch thickness.
- Cut into shapes using cookie cutters or a knife.
- Place the homemade dog biscuits on the prepared baking sheet.
- Bake for 20-25 minutes, or until firm and lightly golden.
- Allow the biscuits to cool completely on a wire rack.
Storage: Store in an airtight container in the refrigerator for up to a week.
Tips for Successful Homemade Dog Biscuit Baking
- Dough Consistency: The ideal dough should be firm enough to roll and cut without being sticky. Adjust flour or liquid as needed.
- Thickness Matters: Thicker biscuits will take longer to bake and will be softer, while thinner ones will be crispier.
- Cooling is Crucial: Ensure biscuits are completely cool before storing. This prevents moisture build-up and spoilage.
- Portion Control: Even healthy treats should be given in moderation as part of a balanced diet.
- Consider Your Dog's Needs: Always choose ingredients suitable for your dog’s health and dietary restrictions.
- Texture Preferences: If your dog prefers softer treats, bake for a shorter time. For crunchier treats, bake a bit longer or at a slightly lower temperature for an extended period.
- Freezing for Longevity: If you bake in large batches, freezing is an excellent option. Wrap cooled biscuits tightly in freezer bags or containers.
In summary
Whipping up homemade dog biscuits is a simple, enjoyable, and beneficial activity for any dog owner. These five easy recipes offer a starting point for creating healthy, delicious treats that your dog will adore. By using wholesome ingredients and avoiding harmful additives, you can provide your furry family member with the best possible nutrition in every bite. So, preheat your oven, gather your ingredients, and get ready to bake some love into your dog's life!
Homemade Dog Muffins: Healthy & Delicious Recipes for Your Pup
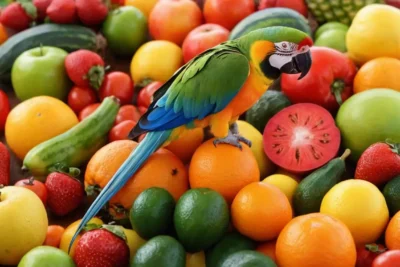
Parrot Diet: Best Fruits and Vegetables for Your Bird

Festive Feasts: Top Christmas Recipes for Dogs

Dog Kidney Failure Diet: Homemade Solutions & Care Tips
Choosing the Best Dog Food: A Comprehensive Guide

Cat Hepatitis Diet: Essential Foods for Your Feline Friend
Understanding the Composition of Cat Food for Health
Related posts